

 www.smaestimating.com ```html
 Opening: Embark on a Timber Framing Adventure! Are you ready to build something truly lasting? Timber framing offers a unique blend of craftsmanship and structural integrity. This post will guide you through the essential steps to create your own timber frame structure. While a full house frame is a large undertaking, we'll focus on techniques and principles applicable to smaller projects like sheds, pergolas, or even decorative frames.
Step 1: Planning and Design. The foundation of any successful timber frame is a well-thought-out plan. Determine the size and purpose of your structure. Create detailed drawings showing all dimensions, joint locations, and timber sizes. Consider the local building codes and regulations. Choose your wood species based on availability, cost, and desired durability (e.g., Oak, Douglas Fir, Pine). Accurate plans will save you time and resources during the construction phase.
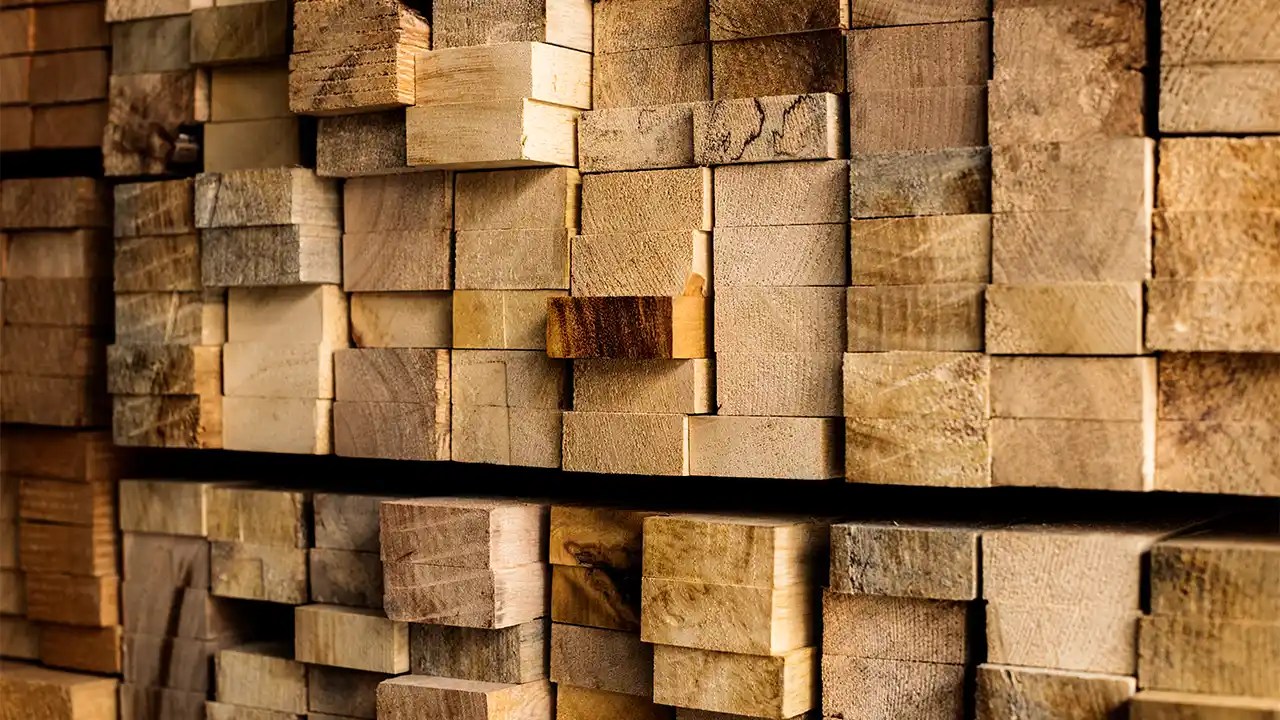
Step 2: Timber Selection and Preparation. Selecting the right timbers is crucial for a strong and beautiful frame. Source your timbers from a reputable lumberyard or mill specializing in timber framing. Inspect each timber for defects such as knots, checks, and rot. Reject any timbers with significant structural flaws. Allow the timbers to acclimate to your local climate to minimize warping or cracking after assembly. This may involve stickering the timbers for a period of time. Surface the timbers if a smooth, finished look is desired. This can be done with a planer or hand tools.
Step 3: Cutting the Joints. Timber framing relies on strong, interlocking joints to hold the structure together. Common joints include mortise and tenon, dovetails, and scarf joints. Accurately layout the joint locations on each timber using your plans. Precision is key. Use a combination of hand tools (saws, chisels, mallets) and power tools (mortiser, tenoner) to cut the joints. Dry-fit the joints frequently to ensure a tight and accurate fit. Adjust as needed. Consider practicing on scrap timber before cutting the joints on your main timbers.
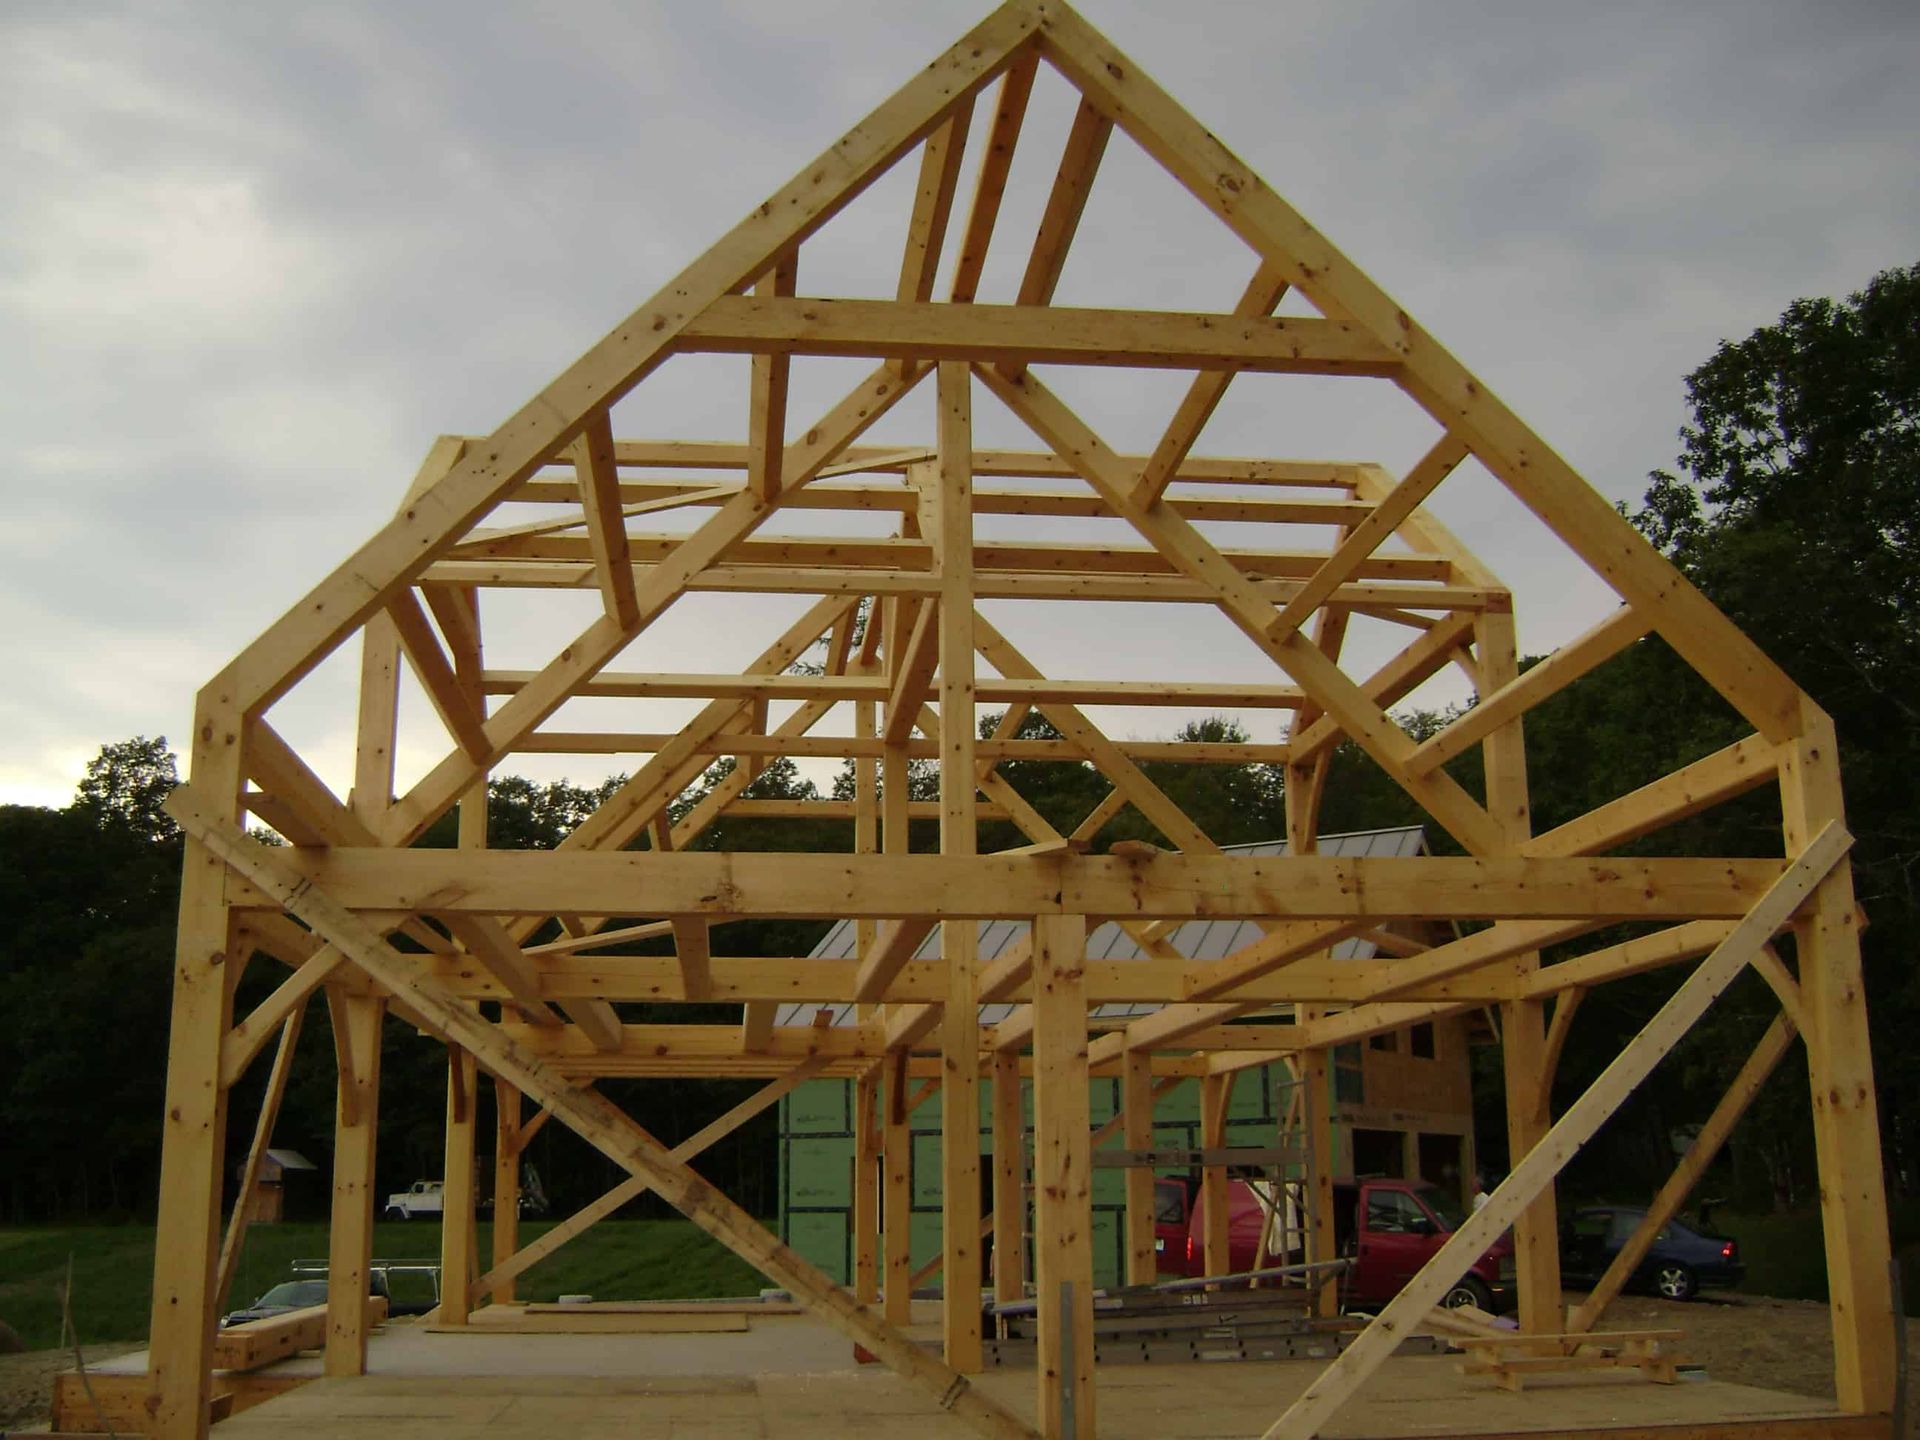
Step 4: Assembly. Once all the joints are cut, it's time to assemble the frame. Start by assembling smaller sections, such as bents (vertical frames). Use wedges and pegs (often made from hardwood) to secure the joints. Ensure that each section is square and plumb before moving on to the next. Use scaffolding or lifting equipment as needed to safely raise and assemble the frame.
Step 5: Raising the Frame. This is often the most exciting and challenging part of the process. Gather a team of helpers to assist with the raising. Use ropes, pulleys, and levers to lift the assembled sections into place. Temporarily brace the frame with diagonal supports to prevent it from collapsing. Once the frame is fully raised, permanently brace it with cross-bracing or sheathing.
Step 6: Finishing and Detailing. With the frame erected, you can now focus on the finishing touches. Install roofing and siding. Add windows and doors. Apply a finish to protect the timbers from the elements. Add any decorative elements you desire.
Conclusion: A Legacy in Wood. Building a timber frame is a rewarding experience that connects you to a long tradition of craftsmanship. By following these steps and taking the time to learn the necessary skills, you can create a beautiful and lasting structure that will be enjoyed for generations to come. Remember to start small, be patient, and enjoy the process!
``` What Is Timber Framing And Its Role In Construction?
www.smaestimating.com Timber Framing
 peacheyconstruction.com
 Timber Framing
 www.hideawayrestoration.com

0 komentar:
Posting Komentar