

 www.customwheeloffset.com
 DIY Backyard Compost Bin: A Step-by-Step Guide
Composting is an excellent way to reduce waste, enrich your garden soil, and create a sustainable ecosystem in your backyard. Building your own compost bin is easier than you might think, and this guide will walk you through each step.
Materials and Tools You'll Need:
- Four wooden pallets (all the same size)
- Heavy-duty staples or screws
- Staple gun or drill
- Measuring tape
- Gloves
- Safety glasses
- Optional: Chicken wire or hardware cloth (for the bottom)
- Optional: Hinges and latch (for a front door)
Step 1: Prepare Your Pallets Inspect your pallets for any loose nails or splintered wood. Remove any hazards to ensure a safe workspace. If the pallets are dirty, you can lightly clean them with a brush and water.
Step 2: Assemble the Frame Arrange the four pallets to form a square or rectangle. Stand the pallets on their edges to create the walls of your compost bin. Ensure the corners are aligned as closely as possible.
Step 3: Secure the Pallets Using your staple gun or drill, securely attach the pallets together at the corners. If using staples, use heavy-duty staples designed for wood. If using screws, pre-drill pilot holes to prevent the wood from splitting. Reinforce each corner with multiple staples or screws.
Step 4: Add a Bottom (Optional) If you want to prevent rodents from entering your compost bin from the bottom, you can add a layer of chicken wire or hardware cloth. Cut the wire to fit the bottom of the bin, and secure it to the inside of the pallets using staples or screws.
Step 5: Create a Front Door (Optional) To make it easier to access the compost, you can create a front door on one side of the bin. Cut one of the pallet slats on the front side. Attach hinges to the cut slat and the adjacent pallet to create a swinging door. Install a latch to keep the door closed.
Step 6: Location, Location, Location! Choose a location for your compost bin that is level, well-drained, and easily accessible. A spot that receives some sunlight is ideal, but avoid full sun in hot climates, as it can dry out the compost too quickly.
Step 7: Start Composting! Now that your compost bin is built, you can start adding your organic waste. Remember to layer "green" materials (like grass clippings and vegetable scraps) with "brown" materials (like leaves and shredded paper) to maintain a healthy compost pile.
Conclusion: Building your own compost bin is a simple and rewarding project that can benefit both your garden and the environment. With a few basic materials and tools, you can create a functional and sustainable way to manage your organic waste. Happy composting!
Tuff Rock
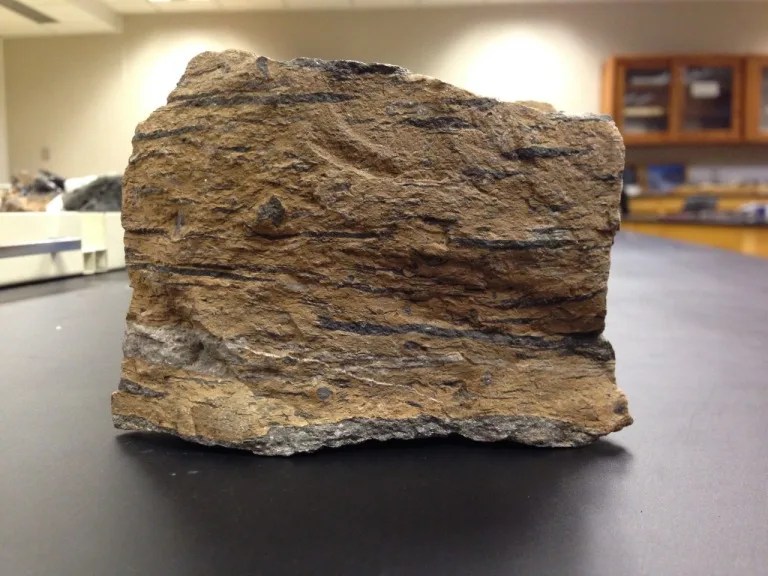 geologyscience.com
 Tuff T11 20x9 +10mm
www.customwheeloffset.com Tuff Rock types, properties, formation, uses" src="https://i0.wp.com/geologyscience.com/wp-content/uploads/2019/05/Rhyolitic-volcanic-tuff.jpg" width="100%" onerror="this.onerror=null;this.src='https://ts4.explicit.bing.net/th?id=OIP.EgqIyC7R3vd8TR6aupU8EAHaFA&pid=15.1';" /> geologyscience.com

0 komentar:
Posting Komentar